
Let's do this!
Are you looking to build a premium WordPress website on a budget? You’ve landed in the right place! In this guide, we’ll navigate the steps to create a stunning WordPress website for under $200. With the right tools and a bit of know-how, you can have a professional-looking website without breaking the bank.
Step 1: Choosing a Host and Installing WordPress
Cost: $35/mo.
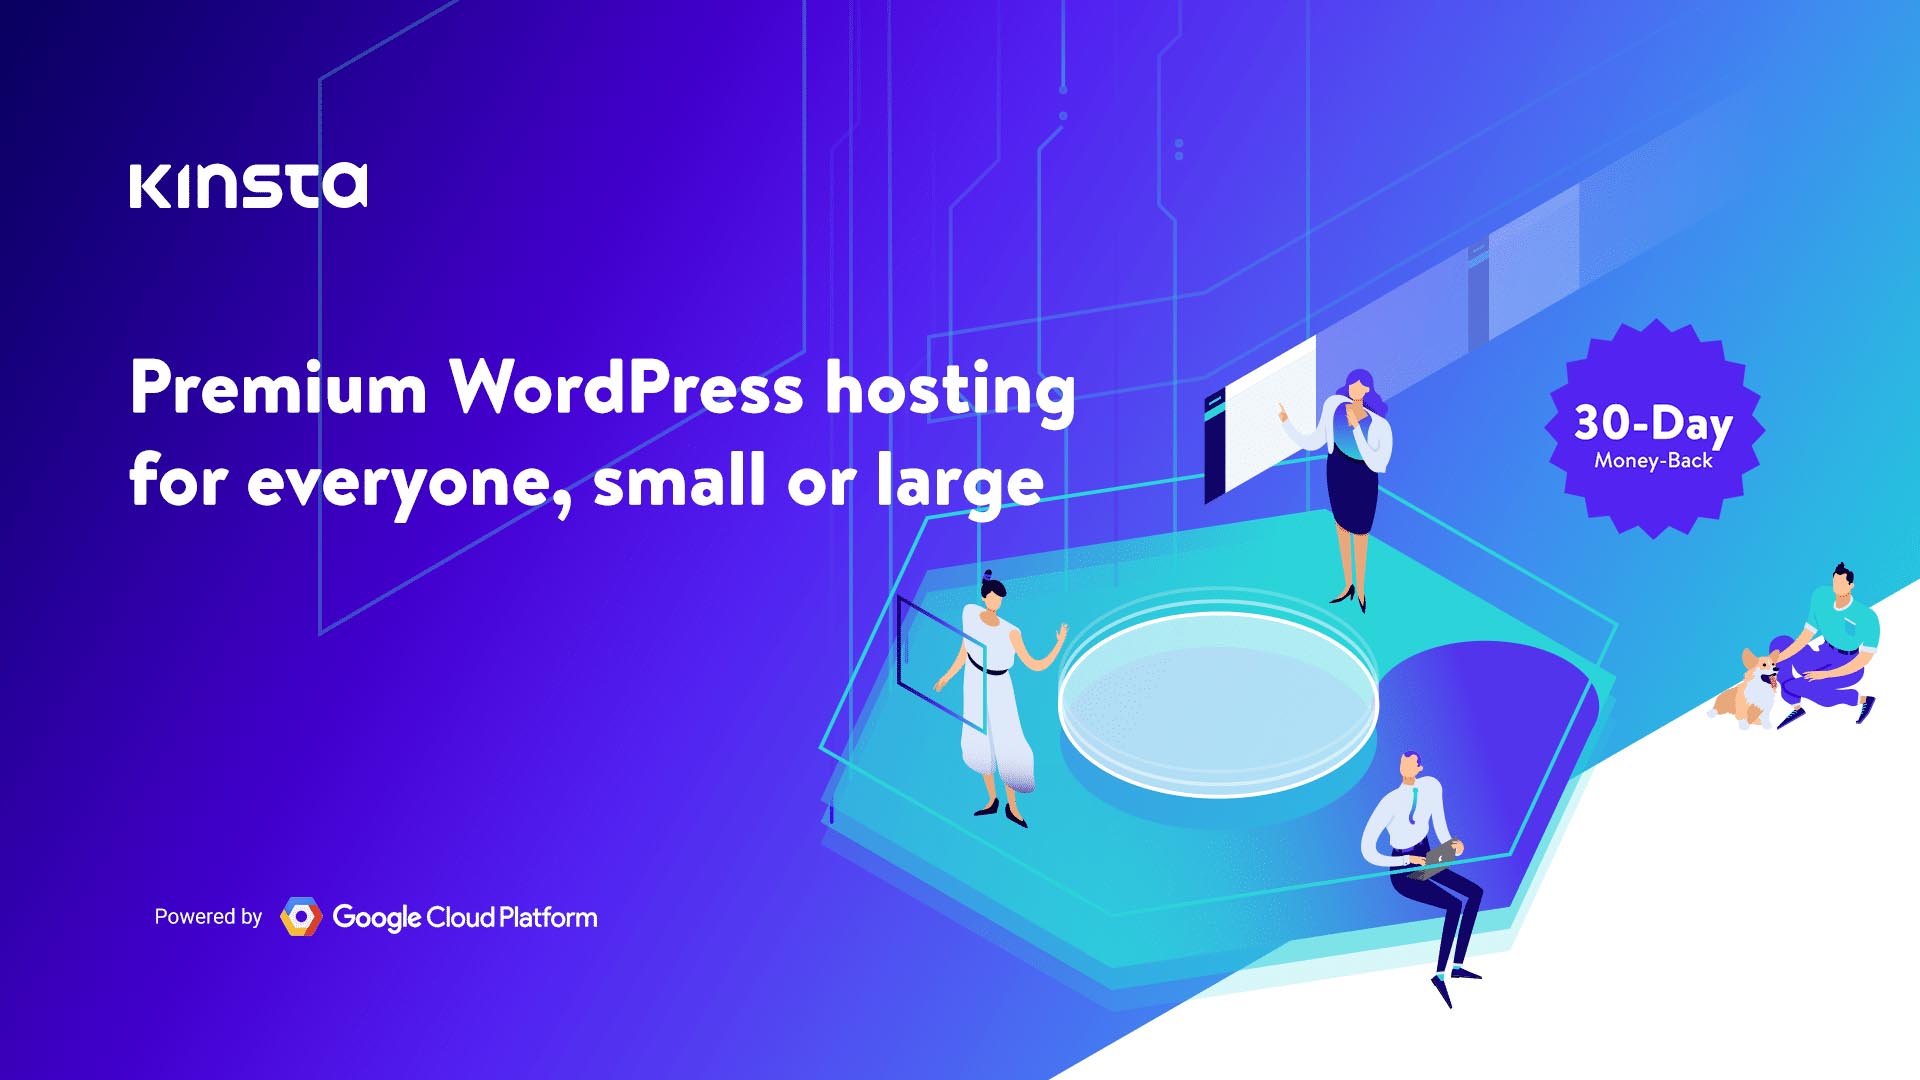
Having a dependable web host is like laying a strong foundation for your website. It’s an element that ensures your site is always available and accessible to users, while also contributing significantly to its speed and performance. Kinsta.com, our chosen platform for this guide, ticks all these boxes.
With its high security standards, responsive customer service, and guaranteed uptime, Kinsta rises above the rest. In the realm of WordPress hosting, it’s often considered one of the best, managing to strike a balance between cost-efficiency and premium service.
One of the key benefits of choosing Kinsta is its convenience. When you sign up, Kinsta takes care of WordPress installation on your behalf, removing the often-complex task of manual installation. This leaves you with a ready-to-customize WordPress site immediately after signing up. It’s a streamlined process that not only saves time but also eliminates potential errors that could arise from manual installation.
Let’s dive into the process of signing up with Kinsta and having your WordPress site ready:
Create an Account: Head to Kinsta.com and choose a plan that suits your needs. The starter plan could be a good fit if you’re just beginning.
Choose Your Website’s Specifications: During the sign-up process, you’ll be asked to provide some details about your site. Fill in the necessary information.
WordPress Installation: Here’s the beauty of Kinsta – as soon as you’ve completed the sign-up process, Kinsta automatically installs WordPress for you.
Access Your WordPress Site: Once WordPress is installed, you can access your new site through the Kinsta dashboard. From here, the world of website customization with WordPress is at your fingertips!
In the next step, we’ll talk about choosing and registering a domain for your new website.
Step 2: Registering a Domain
Cost: $19.99/yr. (for non-premium domain names)

Your domain name is not just an address on the web. It is the first introduction of your brand to your visitors. Choosing a memorable, relevant, and catchy domain name is an integral part of your online presence.
While there are numerous domain registrars available, GoDaddy stands out as the most user-friendly and reliable option. With a straightforward interface and robust customer support, it’s a hassle-free platform that makes the domain registration process seamless.
However, be mindful during checkout. GoDaddy, like many domain registrars, offers several additional services and free trials during the checkout process. Be sure to review your cart carefully before finalizing your purchase to ensure you’re not signing up for any unnecessary add-ons or free trials that you don’t want or need.
Here’s a brief walkthrough of how to register your domain with GoDaddy:
Brainstorm Domain Names: Think about potential domain names that resonate with your brand or the content you will be presenting on your site. Always have a few options ready as your first choice might not be available.
Check Availability: Visit GoDaddy’s website and enter your desired domain names into the search bar to check their availability.
Select a Domain Extension: .com is the most common domain extension, but depending on your website’s purpose, other extensions like .net, .org, or .info may also be suitable.
Buy Your Domain: Once you’ve found the perfect domain, it’s time to purchase it. Follow GoDaddy’s purchase process, ensuring you fill out the necessary information.
Be Mindful of Domain Privacy & Protection: It’s worth considering adding privacy protection to your domain. This service keeps your personal information hidden from public view on the WHOIS database, helping you avoid potential spam or identity theft.
Confirm Ownership: After purchase, you’ll receive an email to confirm your new domain. Follow the instructions in the email to finalize your domain registration.
With GoDaddy’s easy-to-use interface, your domain will be set up in no time. After the domain registration, you’re a step closer to your dream website. Next, we’ll delve into using Elementor Pro for designing your website.
Step 3: Designing Your Website with Elementor Pro
Cost: $59/yr.
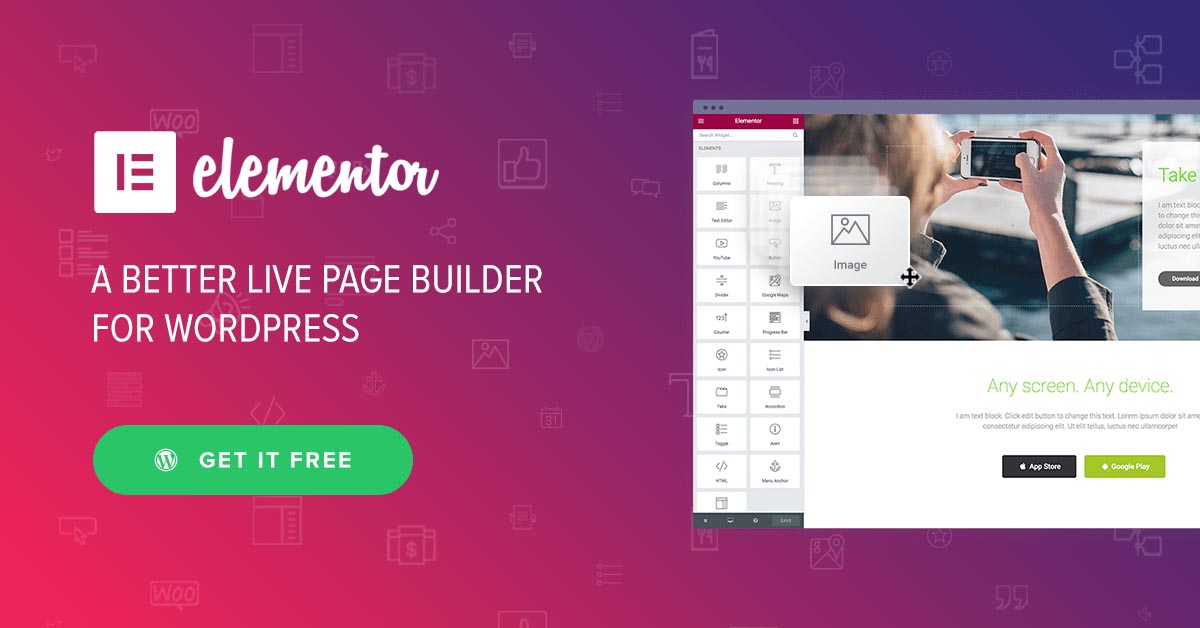
Your domain is registered, your WordPress site is set up on Kinsta, and now your creative vision comes to life. This is where we design your website, and to make this process as enjoyable and efficient as possible, we’ll use Elementor Pro.
Elementor Pro is a premium page builder that provides you with an array of tools to create a professional and aesthetically pleasing website, without the need for coding. Its drag-and-drop interface is user-friendly, enabling you to design attractive pages with ease. You can customize every detail of your website, from the global header and footer to individual pages, to reflect your brand’s personality and mission.
One significant advantage of Elementor is its library of pre-built templates. These templates provide a head start on your design process, offering customizable templates for headers, footers, page sections, and even entire pages. You can modify these templates to your liking, or use them as a source of inspiration.
Another key feature is Elementor’s responsive editing. It allows you to optimize your site’s design for desktop, tablet, and mobile. We recommend finalizing your design on the desktop view first, then utilize the responsive mode to tweak your layout for tablet and mobile.
Here’s a step-by-step guide on how to get started with Elementor Pro:
Install the Free Version of Elementor: First, you need to install the free version of Elementor. Navigate to Plugins > Add New on your WordPress dashboard, search for “Elementor”, and install and activate it.
Purchase and Install Elementor Pro: Visit the Elementor website, choose the Pro version, and complete the purchase. You can then download the Elementor Pro plugin and install it on your WordPress site.
Activate Elementor Pro: After installing the plugin, activate it using the license key provided in your purchase confirmation email.
Designing Your Global Header: To ensure a consistent look across your website, start by designing your global header. Go to Elementor > Theme Builder > Header, and click “Add New.” Here, you can either design your header from scratch or modify one of Elementor’s pre-built header templates.
Designing Your Global Footer: The process for the footer is similar to that of the header. Navigate to Elementor > Theme Builder > Footer, click “Add New”, and start designing, or choose from Elementor’s footer templates.
Designing a Page: To design individual pages, go to Pages > Add New on your WordPress dashboard, then click “Edit with Elementor”. This will launch the Elementor editor, where you can design your page from scratch, or choose a pre-built page template. Once you’re happy with the design, click “Publish.”
Optimize Your Design for All Devices: Now, go back through your designs and use Elementor’s responsive mode to optimize for tablet and mobile views. Make sure that your website looks great and functions well on all devices.
Remember, a consistent design enhances your brand image and offers a seamless experience for your visitors. Ensure that all elements are aligned with your overall website theme.
Elementor Pro makes website design a breeze, offering the tools to bring your vision to life without requiring a professional designer.
There is a LOT more to learn about Elementor. We high suggest spending a couple of hours searching YouTube and watching tutorials.
Step 4: Creating Forms with Gravity Forms
Cost: $59/yr.
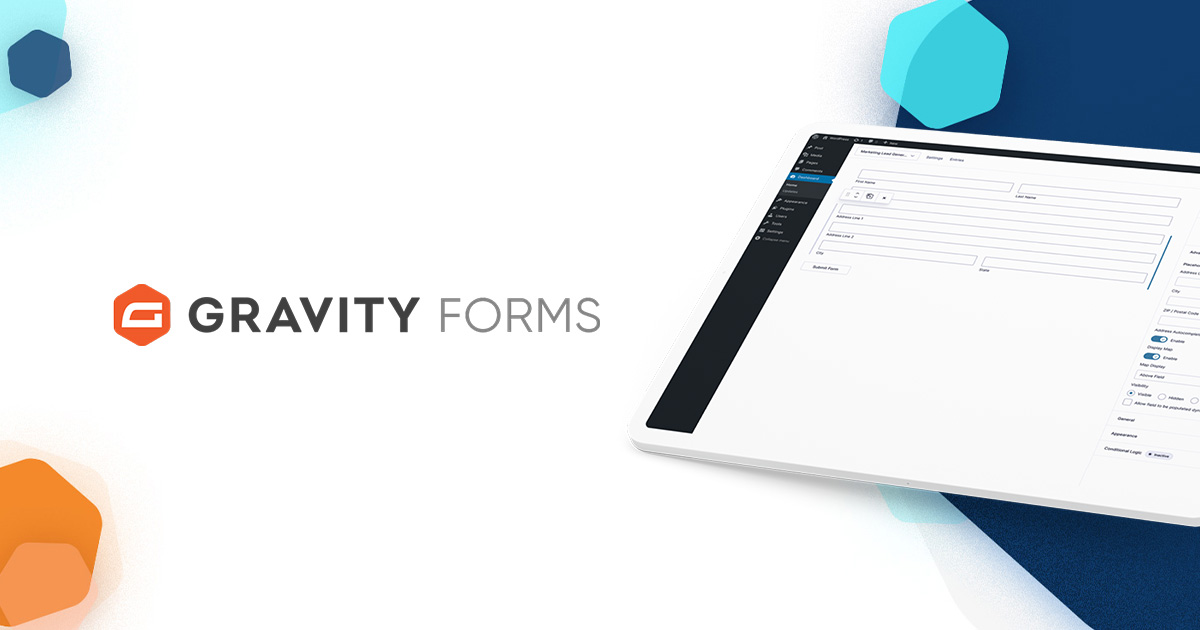
While a visually appealing website is important, ensuring it’s functional is equally crucial. One critical functionality of many websites is the ability to capture visitor information through forms. Whether it’s a simple contact form, an email subscription form, or a detailed service request form, Gravity Forms is a powerful WordPress plugin that makes form creation a breeze.
Gravity Forms is a premium form builder plugin known for its flexibility and variety of features. From simple forms to complex ones, Gravity Forms has you covered.
Here’s how to set it up:
Purchase Gravity Forms: Visit the Gravity Forms website and choose the license that suits your needs. Remember, it’s always possible to upgrade later if you need more advanced features.
Install and Activate Gravity Forms: After purchasing, you’ll receive a download link for the Gravity Forms plugin. Back in your WordPress dashboard, navigate to Plugins > Add New > Upload Plugin and upload the Gravity Forms file. Click “Install Now,” then “Activate Plugin.”
Enter Your License Key: Go to Forms > Settings on your WordPress dashboard, and enter your license key in the appropriate field to activate your Gravity Forms license.
Create a New Form: To create your first form, go to Forms > New Form. Name your form and start adding fields from the right-hand panel. Gravity Forms offers a wide variety of field types, from simple text fields to file uploads, radio buttons, checkboxes, and more.
Configure Form Settings: Once you’ve added all your fields, click on “Form Settings” to configure form behavior like form confirmation messages, notification emails, and more.
Embed Your Form: Finally, to add your form to a page, you can use the provided shortcode. Simply edit the page where you want to include the form, add a new block, search for “Shortcode,” and paste in your form’s shortcode.
Gravity Forms not only simplifies form creation but also ensures that these forms are efficient in capturing the necessary data from your site visitors. It is a key ingredient in ensuring your website serves its purpose effectively.
Step 5: Optimizing Your Website for Search Engines with RankMath
Cost: $0
Once your website is beautifully designed and functional, the next step is to make sure it’s found by your target audience. This is where Search Engine Optimization (SEO) comes into play, and a powerful tool that can help you with this on WordPress is RankMath.
RankMath is a comprehensive SEO plugin that simplifies many of the complexities of optimizing your website for search engines. It offers a host of features that make it easier to manage your website’s SEO and improve its online visibility.
Here’s how to set up and use RankMath:
Install RankMath: RankMath is a free plugin that can be installed directly from your WordPress dashboard. Go to Plugins > Add New, search for “RankMath,” and then click “Install” and “Activate.”
Run the Setup Wizard: After activating the plugin, you’ll be prompted to run a setup wizard. This wizard will guide you through the basic settings and configurations to optimize your site. It’ll help you connect your website to Google Search Console, set up SEO-friendly URLs, and configure your website’s sitemap.
Optimize Your Posts and Pages: On each post or page editing screen, you’ll see a new RankMath meta box below the main editing area. Here, you can add a focus keyword, and RankMath will analyze your content based on this keyword. It’ll give you an SEO score and provide actionable recommendations to improve your content’s SEO.
Use Advanced Features: RankMath also includes advanced features like 404 error monitoring, redirections, rich snippets, and local SEO options. You can access these features through the RankMath menu on your WordPress dashboard.
By focusing on SEO, you ensure that your website is not only well-designed and functional but also discoverable by your target audience. And with a tool like RankMath, optimizing your website for search engines becomes a much simpler task.
Step 6: Launching Your Website and Connecting Your Domain
Cost: $0

You’ve designed an amazing website, created functional forms, optimized it for search engines, and now you’re ready for the world to see it. The final step in this process is to launch your website and connect it to your domain name.
Here’s how you do it:
Check Your Website: Before launching, it’s always a good idea to check everything one last time. Ensure that all links work, the design looks good on all devices, forms are functional, and your pages are optimized for search engines.
Connect Your Domain to Kinsta: The next step is to point your domain name to your website hosted on Kinsta. This is done by updating the DNS records for your domain at GoDaddy.
- Login to your GoDaddy account and navigate to your domain’s DNS Management page.
- Look for the “A” record in the list, and change the “Points to” IP address to the one provided by Kinsta.
- Add a CNAME record for “www” and point it to your domain name.
Please follow Kinsta’s current instructions for pointing your domain name, as these instructions can change from time to time.
It can take up to 48 hours for DNS changes to fully propagate, so don’t worry if your site doesn’t immediately appear on your domain.
Remove the “Coming Soon” Page: If you have a coming soon page activated, make sure to deactivate it. On your WordPress dashboard, navigate to Settings > Reading, and ensure “Discourage search engines from indexing this site” is unchecked.
Launch!: Now, your website is ready for the world. Share the news on your social media, send out a newsletter, do everything you can to let people know about your new site.
The moment your website goes live is a thrilling one. All the hard work you’ve put into creating your site finally pays off. From here on, the sky’s the limit. You now have a premium WordPress website that you built yourself, all under $200.
Still need help?
While this guide provides a comprehensive roadmap to creating your own WordPress website, it’s understandable if the process still seems a bit overwhelming. After all, website creation requires time, effort, and a good grasp of various tools and procedures. If you’d rather entrust this task to experts, or seek professional guidance through the process, SteamWorks is here to help. Leveraging this very method, we design and build standout WordPress websites, ensuring a strong online presence for your brand. Alternatively, we offer consultation services to support and guide you along your website creation journey. With SteamWorks, you’re never alone in navigating the exciting world of website development.